Improving the visual of your video will greatly improve your viewer’s response to it! It’s so much easier to watch a well-lit video than an under/overexposed one. In this video, we talk about how to greatly improve your lighting setup. Here are some LED Light’s I’d recommend using for improving your setup!
Equipment mentioned in this video:
LED Video Lights:
Neewer 280 LED Light ($50): https://amzn.to/2VAFNna
Neewer 176 LED Light ($42): https://amzn.to/2XFZjBs
Some Cheap Stands: https://amzn.to/2Vu90jG
For a nicer setup, here is a kit of 2 with stands ($140): https://amzn.to/2VBlo1g
This is the one I use in a lot of my own videos- one of my favorites:
With RGB ($110): https://amzn.to/2xx5n4z
With no RGB ($75): https://amzn.to/3bg9ZKU

Video Transcript:
How you shoot your video will make a big impact on your viewers impression of it. Needless to say, it’s easier to watch a well produced video than it is to watch something created in a hurry or with little effort. In the last video we talked about how to greatly improve your audio to better draw your audience in. In the next couple of videos, we’re talking about the basics of lighting and composition. No, this doesn’t mean you have to buy lights to make your videos look good, though if you have a small budget I’ll list some simple options.
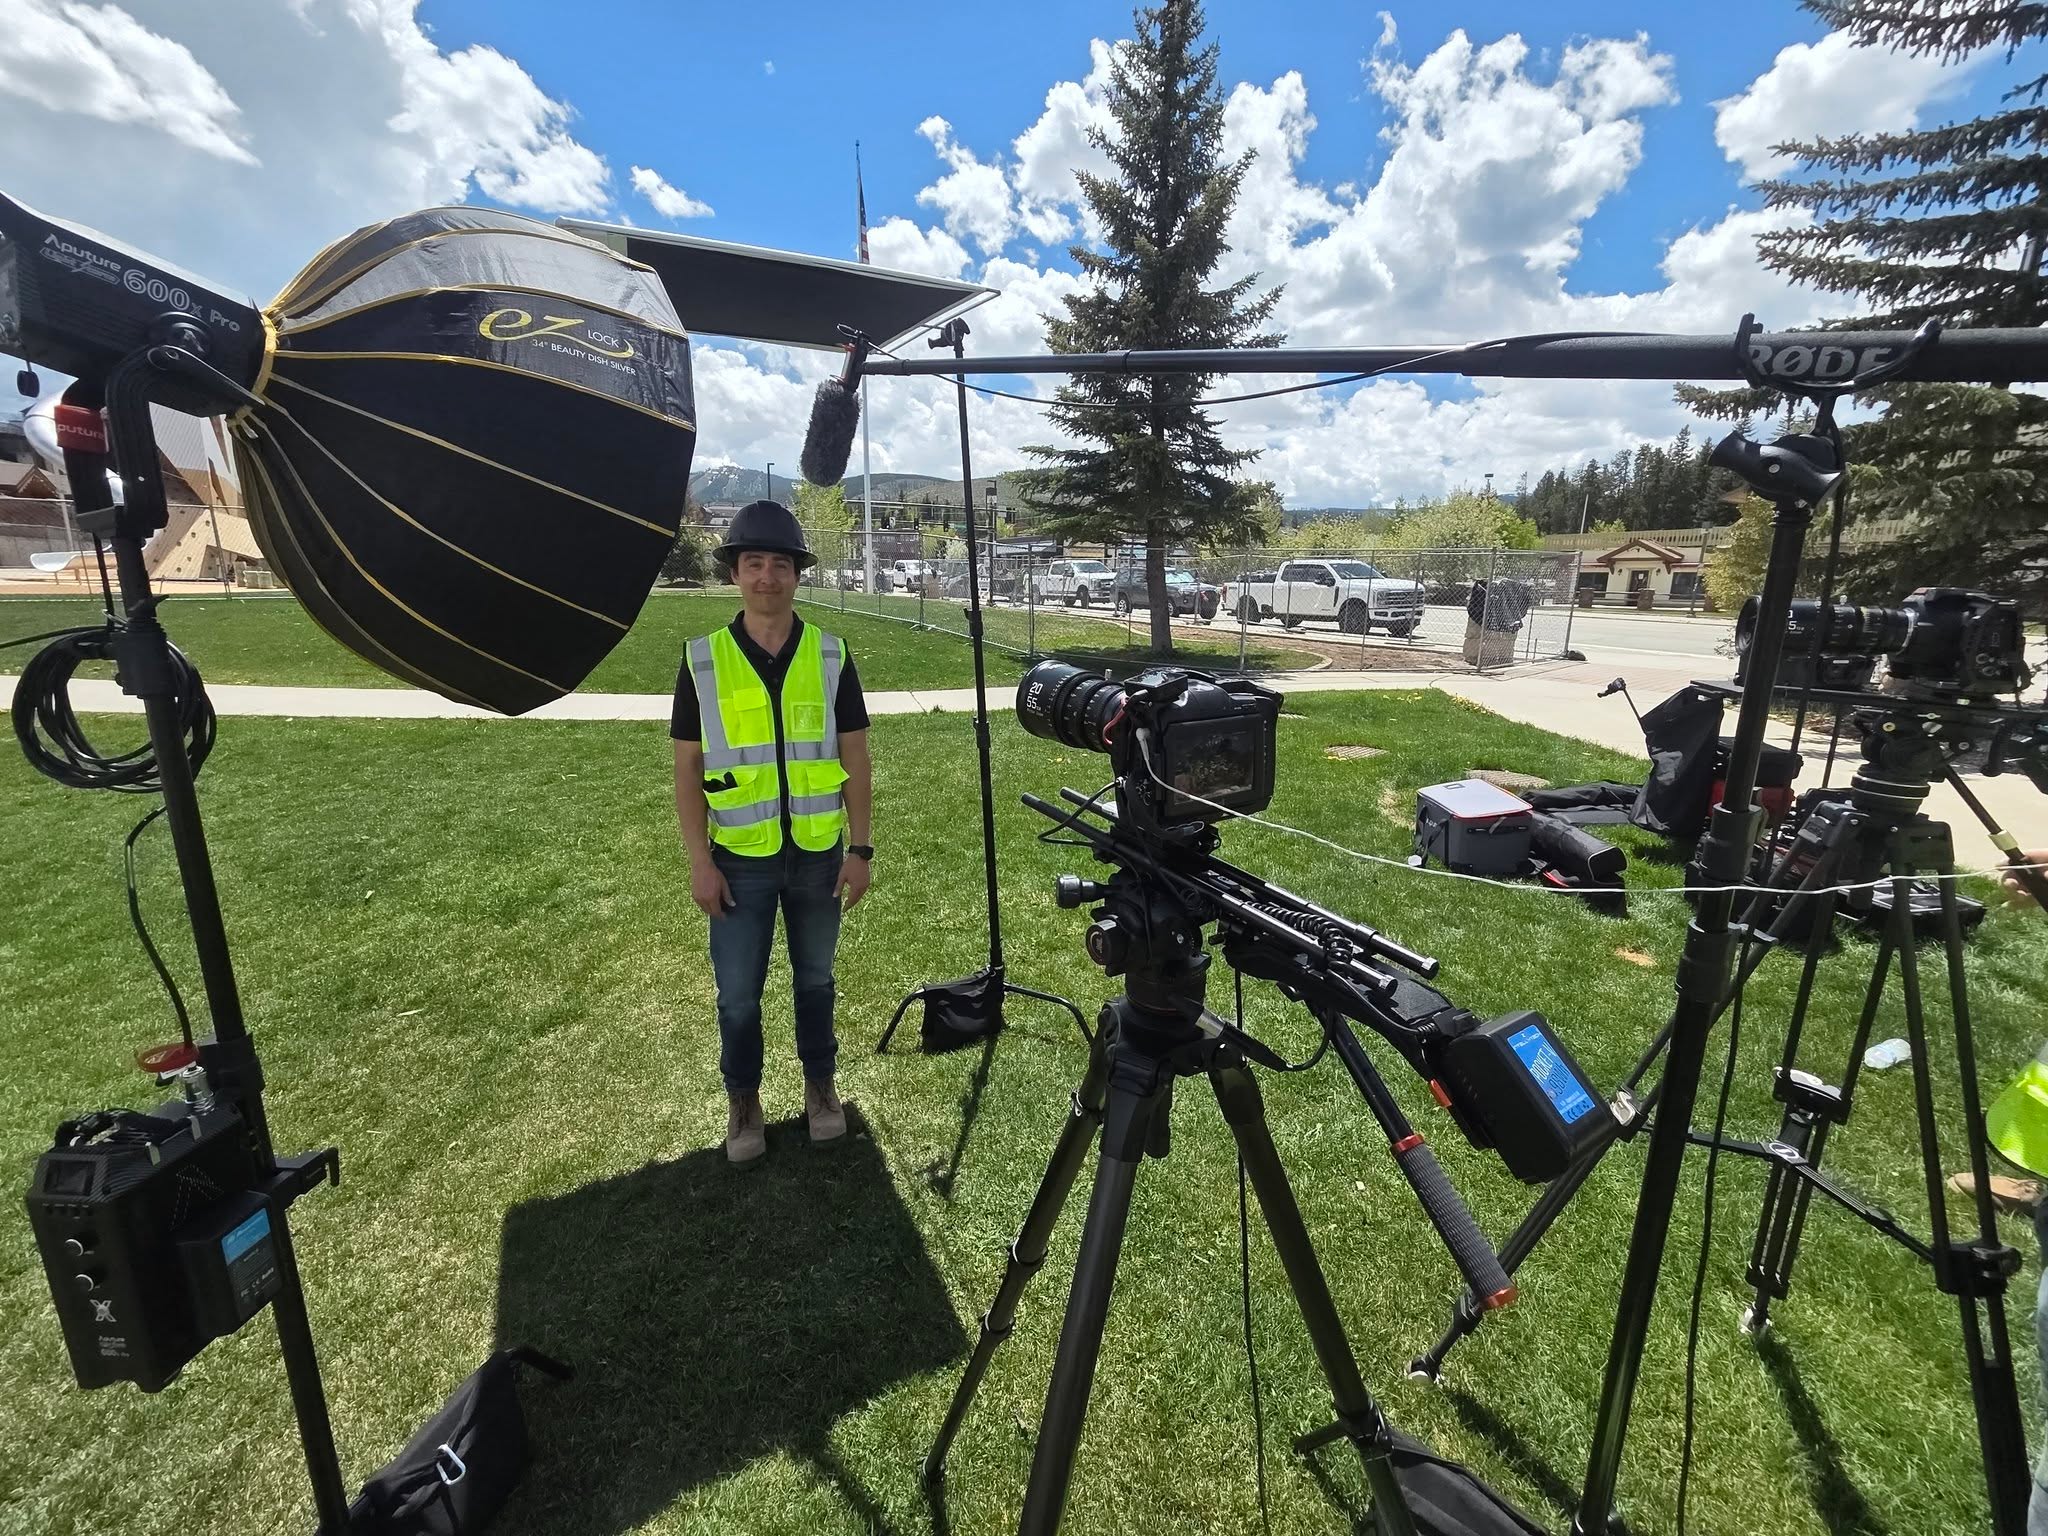
First of all, in a professional lighting setup like I have right now, you’ll have several lights that make the scene look more dynamic. You’ll typically have key lights, fill lights, background lights, hair lights, practical lights, and more! However, for simple videos made a home, 1 primary light source is going to be a great place to start. A lot of people, especially in Colorado want to highlight a scene behind them, especially if they have an appealing view. If you don’t have a brighter light in front of you though, that will almost always blow out the video. Being that the subject, your face, is the most important thing we’re capturing, let’s save the fancy background for a professionally produced video and concentrate on lighting our subject, your face, a bit better.
Angle of light is very important! Now there are a lot of different styles to shoot for. A lot of beauty videos use ring lights, where the light is coming from every angle around the lens. It really leaves no shadows for depth and is very intentional in showing details in the face. I’ve always been in more favor of a more dynamic key light, at around 45 degrees of the subject. It’s a lot more common with vlogger style videos. This creates clean shadows and that “Hitchcock triangle?” that you see in many films. It also saves you from completely blowing out your face if you end up being overexposed. For someone with ultra fair skin, it also allows for some color to be translated with the darker side.
As for exposure, make sure that for one, you’re not completely blown out white on one side and black on the other. That’s a little too extreme. Turning down, moving away, or diffusing the light source will help you reduce the contrast and bring in more color and detail. If you’re looking to make things a lot easier, I’d recommend looking at some cheap LED panels like this one from Neewer. It’s both temperature and brightness controllable so you can really make a video set anywhere you go. Link for this and a couple of other options is in the discription.
Our next video, we’re talking about how best to frame and compose your video. If you found this helpful or know someone who would benefit from this need-to-know info, please give it a share, like and comment to say what you’d like to see next! See you next time!